Horizontal Layout
Introduction
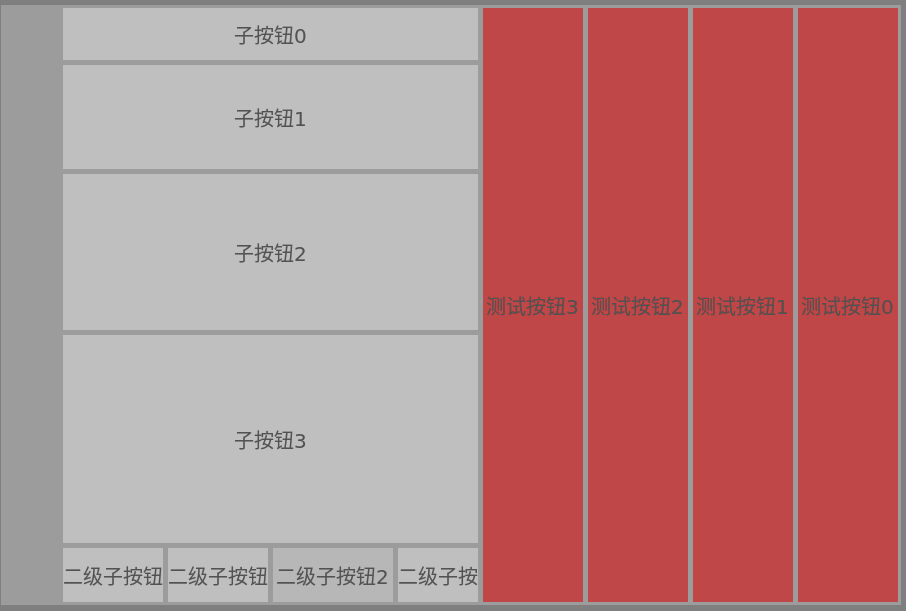
TpHBoxLayout Class TpHBoxLayout arranges child components horizontally in a single row, placing each component into a box along the row.
Usage Example
tpDialog *floatScreenH = new TpDialog();
floatScreenH->setBackGroundColor(_RGBA(255, 255, 255, 200));
floatScreenH->setRect(0, 0, 900, 600);
floatScreenH->setAlpha(128);
floatScreenH->setBeMoved(true);

tpHBoxLayout *hLayout = new TpHBoxLayout();
hLayout->setDirection(TpBoxLayout::RightToLeft);

tpVBoxLayout *sonLayout = new TpVBoxLayout();
sonLayout->setContentsMargins(0, 0, 0, 0);

tpHBoxLayout *son2Layout = new TpHBoxLayout();
son2Layout->setContentsMargins(0, 0, 0, 0);

for (int i = 0; i < 4; ++i)
{
    TpButton *testButton = new TpButton("Test Button" + TpString::number(i));
    TpButton *testButton3 = new TpButton("Child Button" + TpString::number(i));
    TpButton *testButton4 = new TpButton("Second-level Child Button" + TpString::number(i));

    testButton->setMinimumSize(100, 40);
    testButton3->setMinimumSize(100, 40);
    testButton4->setMinimumSize(100, 40);

    testButton->setBackGroundColor(_RGB(255, 15, 15));

    hLayout->addWidget(testButton, i + 1);

    sonLayout->addWidget(testButton3, i + 1);
    son2Layout->addWidget(testButton4, i + 1);
}
sonLayout->addLayout(son2Layout);
hLayout->addLayout(sonLayout, 3);

hLayout->addSpacer(new TpSpacerItem(100, 20, TpSpacerItem::Expanding, TpSpacerItem::Minimum));

floatScreenH->setLayout(hLayout);
Demo
Copyright
Copyright Ownership:TinyPiXOS
License under:Attribution-ShareAlike 4.0 International (CC-BY-SA-4.0)
